
 US
 Australia
 United Kingdom
 Europe

Leaf Spring Pads with Fitting Position Rear for 1968 Chevrolet Chevy II Nova
IMPROVE GRIP, HANDLING & PERFORMANCE.
Two different components share the name leaf spring pad, and on your Chevrolet Chevy II they sit at opposite ends of the same spring pack. One goes between the pack and the axle. The other one sits between the leaves themselves. Both are cheap, both get left out of jobs, and both make noise when they are gone. The Pad Between the Spring and the ... Read more
Two different components share the name leaf spring pad, and on your Chevrolet Chevy II they sit at opposite ends of the same spring pack.
One goes between the pack and the axle. The other one sits between the leaves themselves. Both are cheap, both get left out of jobs, and both make noise when they are gone.
The Pad Between the Spring and the Axle
Where a leaf pack clamps down onto the axle, there is usually a pad between the two faces.
Listings call it a spring pad, an axle seat pad or a leaf spring isolator pad, and it stops steel sitting directly on steel. That matters because the U-bolts clamp the joint hard and any movement there wears both surfaces. It also gives the pack something to grip against rather than letting it slide on a polished axle seat.
On many applications the pad carries a locating feature, a hole or a recess, that the center bolt head drops into. That turns the pad into part of the location system rather than just a cushion.
Water collects in this joint, which is why a failed pad so often leads to a corroded axle seat. The pad is the only thing keeping moisture out of the contact face.
Compressed, split or missing, the pack starts moving fractionally against the axle under braking and acceleration, and that movement works at the U-bolt clamping load until the whole joint goes loose.
Inter-Leaf Pads and Why Leaf Springs Squeak
The second type sits between the leaves and does a completely different job.
Every leaf in a conventional pack slides against its neighbors as the spring flexes. That friction damps the suspension, which is useful, and it also wears the leaf surfaces and makes noise.
Anti-friction pads, sometimes called liners or inserts, sit at the leaf tips where the contact pressure concentrates. They separate the surfaces, reduce the stiction that makes a leaf pack feel harsh over small bumps, and stop the squeak.
That squeak is the single most common complaint on an aging leaf sprung vehicle, and it is dry metal on dry metal where the pads have worn away or where there were never any to start with.
Spraying lubricant into the edges of an assembled pack quietens it for a week and washes straight out. The permanent fix means separating the leaves and fitting pads at the contact points.
What Changes When the Pads Are Gone
The symptoms differ depending on which pad has failed, and both are easy to misread.
A worn axle seat pad produces a knock under braking and acceleration as the pack shifts, plus U-bolts that will not hold their torque between services. People chase that as a U-bolt problem and keep retorquing a joint that has nothing solid between its faces.
Worn inter-leaf pads produce the squeak, a harsher ride over small inputs, and accelerated wear on the leaf surfaces themselves. Left long enough, the leaves wear grooves into each other at the tips.
Neither failure is dramatic and both of them compound. A pack that has been moving on its axle seat for years will have worn the seat, and leaves that have been rubbing dry will have lost material that does not come back.
Pads on Trailers and Loaded Vehicles
Anything carrying weight permanently works these harder, and the failures arrive sooner.
A trailer sits at its loaded weight for the whole trip with no driver easing off over rough surfaces, so the axle seat pad is compressed continuously rather than cycling between loaded and unloaded.
Boat trailers add immersion on top of that. Salt water gets into the joint between pack and axle, sits there under the pad, and corrodes the seat from a face nobody inspects.
Utes and trucks running a permanent tray load see the same thing more slowly, with the pad compressed harder than the design assumed and the U-bolts working against a joint that is slowly losing thickness.
On any of those, checking the pad at the same time as a U-bolt retorque is worth doing, since both problems show up as a joint that will not hold its clamping load.
Pad Thickness, Pinion Angle and Correction Wedges
This is the detail that catches people out when fitting a lift.
The axle seat pad sits in the load path between the spring and the axle, so its thickness contributes to where the axle sits relative to the pack.
A thicker pad on one side than the other, or a pad fitted on one side and not the other, puts a slight wedge into the joint. On a leaf sprung axle that rotates the housing fractionally, which changes pinion angle.
Tapered pads exist for exactly that reason, used as caster or pinion correction wedges where a lift has rotated the housing out of specification.
If a wedge is being fitted, remember it increases the distance between the bottom leaf and the axle seat, which means the center bolt head may no longer reach its locating hole. A long head center bolt solves that and it is the part most often forgotten.
Rubber, Polyurethane and Composite
Material choice follows what the pad is doing.
A leaf spring rubber pad is the factory answer at the axle seat. It grips well, isolates noise and compresses permanently over years of clamping load, which is why it eventually stops filling the gap.
Polyurethane holds its thickness under sustained clamping load far better, which keeps the U-bolt tension doing what it should and stops the pack moving. It also resists the oils and road chemicals that degrade rubber at the axle seat.
Inter-leaf pads use low friction materials rather than grippy ones, since the whole point is letting the leaves slide cleanly rather than holding them still. Composite and nylon types turn up here alongside polyurethane.
Using the wrong one in the wrong position defeats both. A grippy pad between leaves increases stiction, and a slippery pad at the axle seat lets the pack move.
Measuring Before You Order
The dimensions that matter are different for each type.
For an axle seat pad, measure the width of the spring pack, the length of the contact face and the thickness of the original. Check whether it carries a locating hole and where that hole sits relative to the edges.
For inter-leaf pads, the leaf width is the figure that matters along with the pad thickness, since the pad has to sit within the leaf without overhanging.
On anything with a tapered pad already fitted, note which way the taper runs before removing it, since reversing it moves the pinion angle in the wrong direction.
Measure what is on the vehicle rather than working from a catalog entry, particularly where a previous repair may have changed the spring pack or added a wedge.
Fitting Pads Means U-Bolt Work on Your Chevrolet Chevy II
There is no way to replace an axle seat pad without releasing the pack from the axle, which makes this a bigger job than the part price suggests.
U-bolts are torqued into their yield range and stretch permanently, so the set that comes off does not go back on. New U-bolts are part of the job whether the listing mentions them or not.
With the pack loose, check the center bolt head seats fully into the axle locating hole once the new pad is in place, since the pad thickness affects how far it reaches.
Torque the U-bolts evenly in a cross pattern rather than one leg at a time, so the pad compresses squarely rather than being pinched at one edge.
Retorque the U-bolts after a few hundred miles. The pad takes a set as it beds in and the clamping load drops with it, which is exactly the settling the retorque exists to catch.
Inter-leaf pads are a different proposition again, requiring the pack to be separated at the center bolt, which is work best done with the spring off the vehicle.
Doing It With the Rest of the Spring Work
Because the access is the expensive part, timing matters more than the part cost.
New leaf springs, a shackle rebuild, bushings or U-bolt replacement all reach the point where the pad is accessible. Fitting a new one at that moment costs almost nothing.
Skipping it means the new spring pack sits on a compressed twenty year old pad, and the noise that follows gets blamed on the springs.
Check the axle seat itself while it is exposed. Corrosion there under a failed pad is the hidden damage that turns a straightforward job into a repair.
Find Leaf Spring Pads for Your Chevrolet Chevy II
Leaf spring pads belong to our bushings lineup, alongside leaf spring bushings and leaf spring shackle bushings.
Select your Chevrolet Chevy II to see the leaf spring pads available for it, covering axle seat and inter-leaf positions. Measure the pack width and the original pad thickness before ordering, and plan for new U-bolts since the pack has to come off the axle either way.
1 item
-
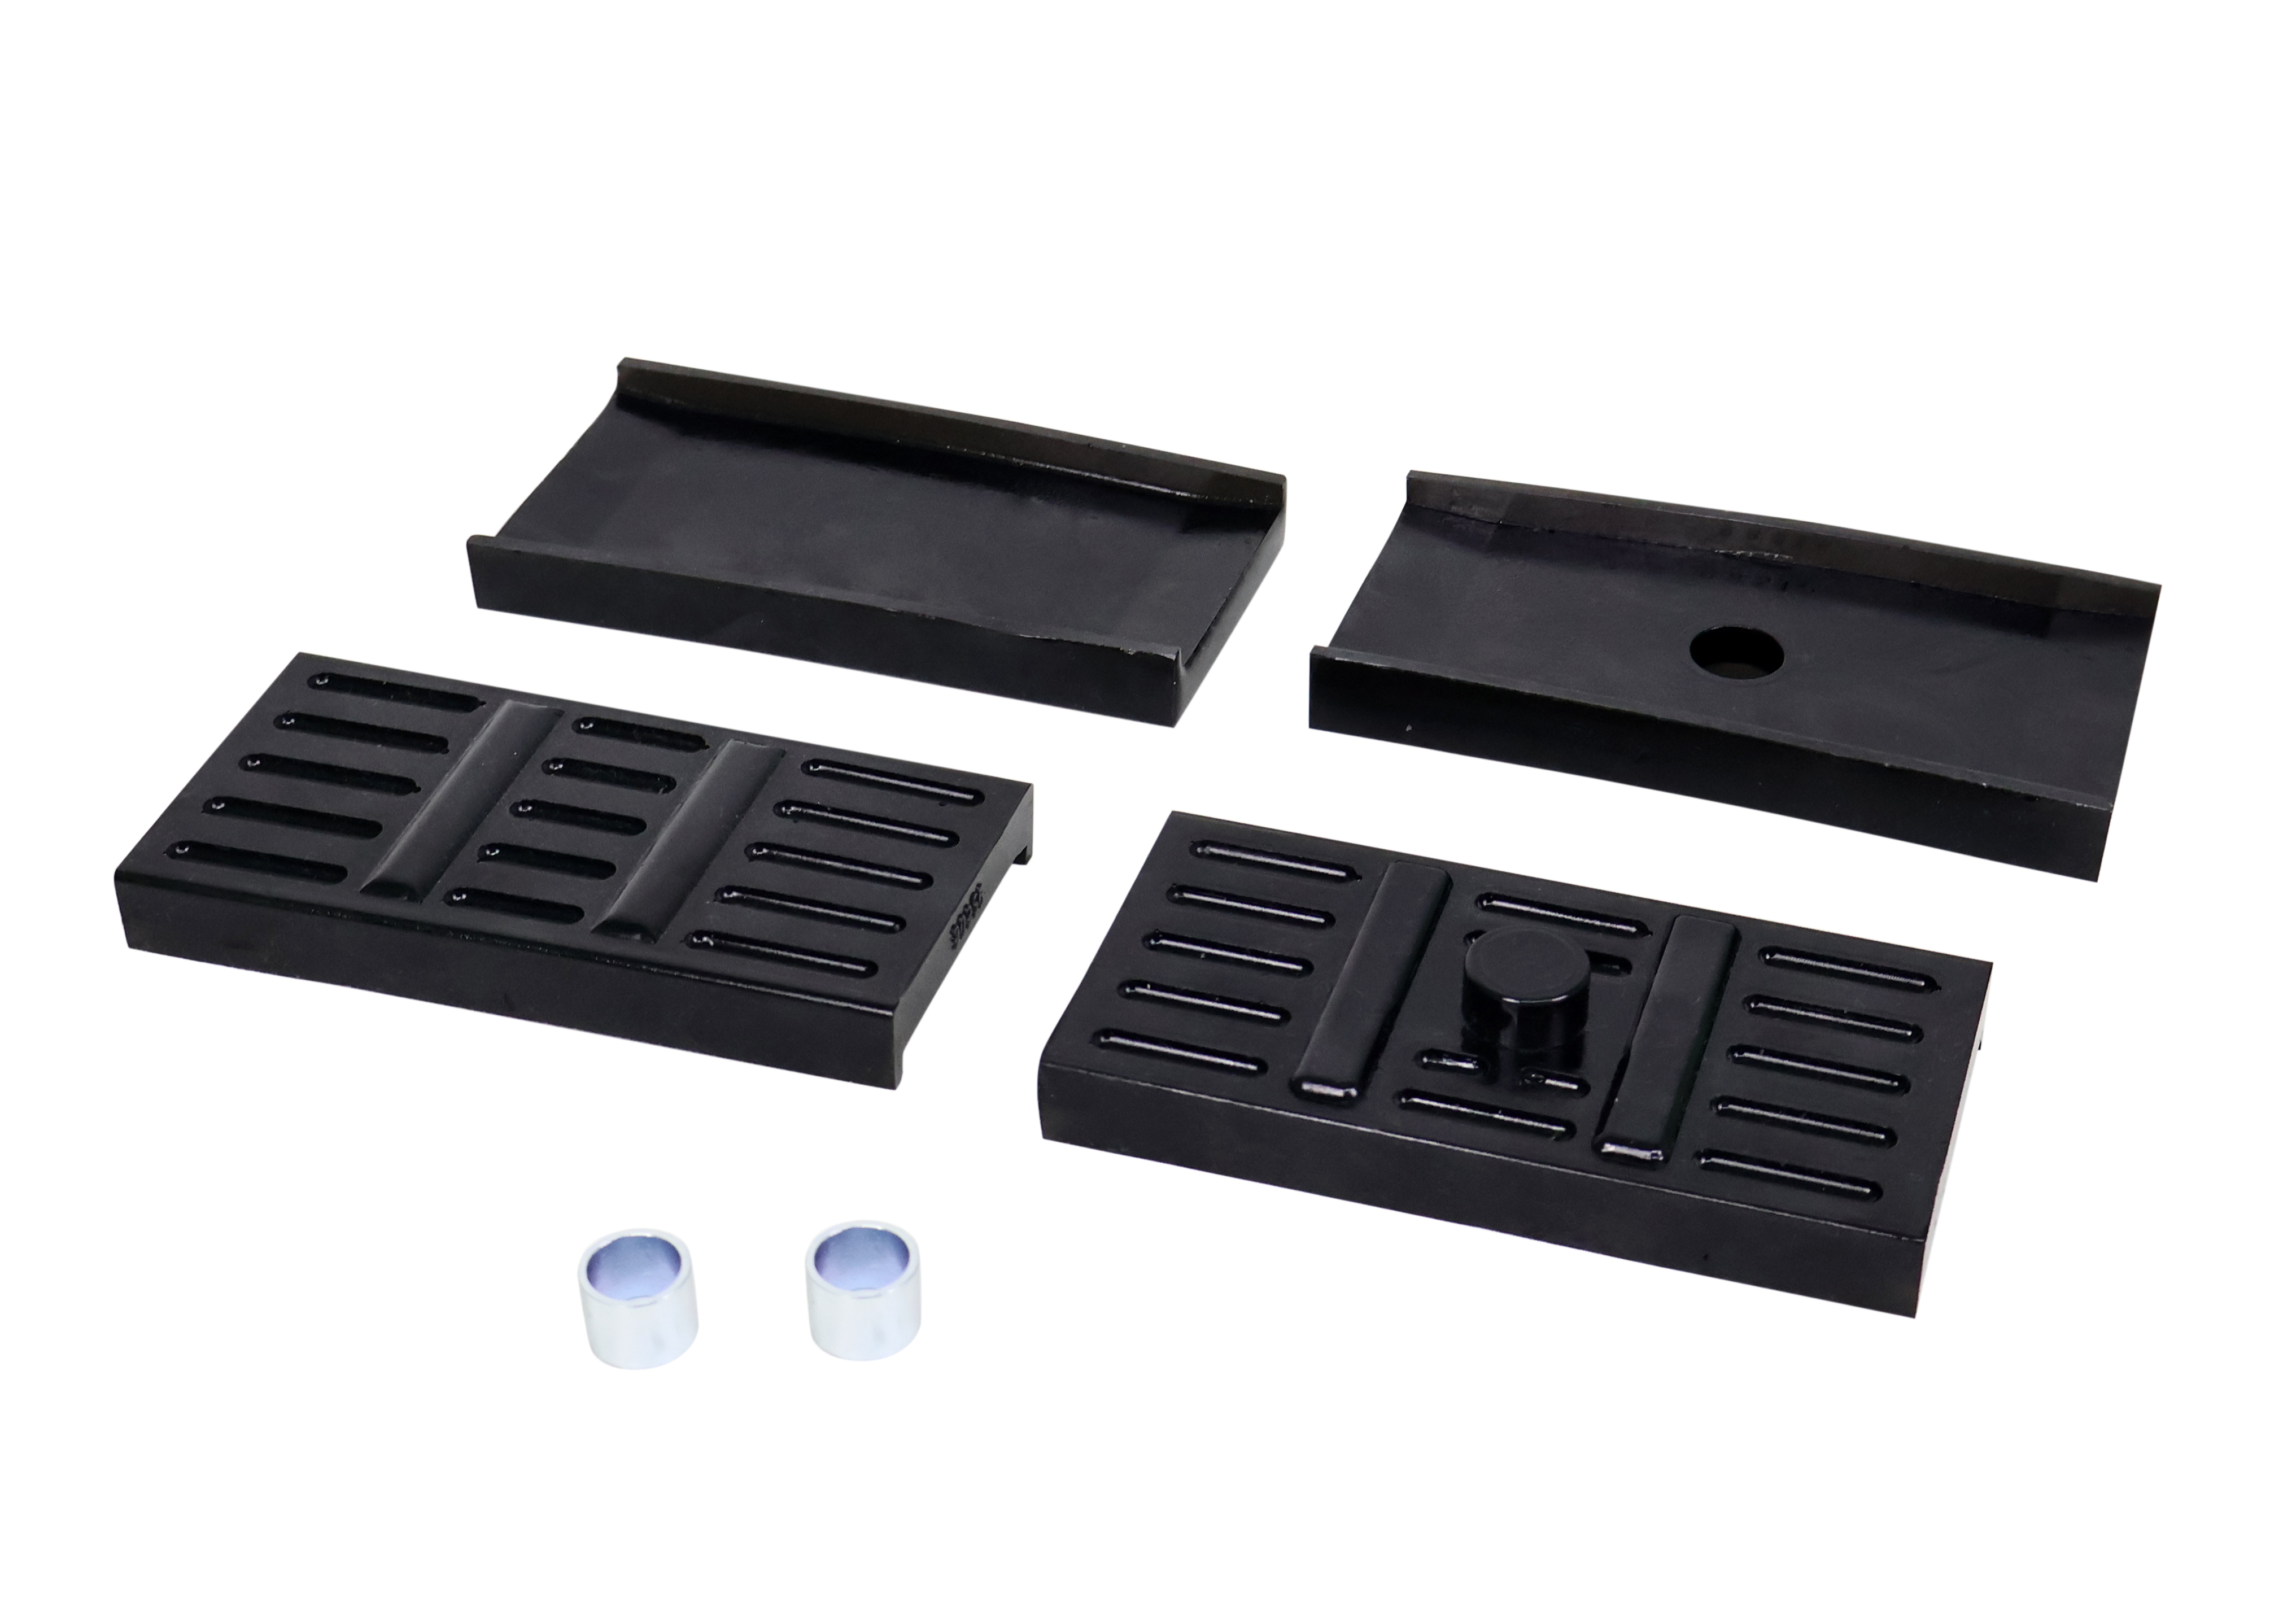
Rear Spring - to saddle insulator bushing
✅ Fits 1968 Chevrolet Chevy II Nova In StockShips within 24hrs.Ships within 24hrs.SKU: W73881Rear Spring - to saddle insulator bushing
✅ Fits 1968 Chevrolet Chevy II NovaIn StockShips within 24hrs.Ships within 24hrs.Qty Required 1Kit Contents 4 Bushings$26.89
Your vehicle
Matching vehicles
No match — try selecting it below.
Refine your search
Clear allNo categories match.
Can’t find what you’re looking for?
Our team can help you find the right part — or tell us what was missing so we can improve the site.
Call Us +1 909-476-2860 Give Feedback (opens in a new tab)


