
 US
US Australia
 United Kingdom
 Europe
How much do lowering springs drop a Tesla Model 3, and will it ruin the ride?
A Whiteline lowering kit drops a Model 3 by 20mm, or 0.787 in, front and rear. Ride quality holds up because the drop is modest and the rates are matched to the factory dampers: 4.7kg/mm (263lb/in) front and 8.0kg/mm (450lb/in) rear. Big drops on mismatched rates are what wreck a Model 3, not lowering itself.
How much drop are we actually talking about?
Twenty millimeters for both Front and rear, so the car sits level rather than nose down or tail high.
That number matters more than it looks. Most of the aftermarket sells drop as a feature, with 1.5in and 2.0in options presented as the desirable end of the range. On a Model 3 those figures come with a cost that rarely gets printed next to them. The factory damper has a finite stroke, and the further you drop the car on a stock damper, the more of that stroke you spend just holding the car up. What remains has to absorb everything the road throws at you. Go far enough and the suspension starts running into its bump stops on ordinary expansion joints, which is the harsh crash owners describe after a cheap lowering job.
At 20mm you keep useful travel. The car looks properly resolved, the wheel gap closes, and the geometry stays inside a range the factory dampers can still control.
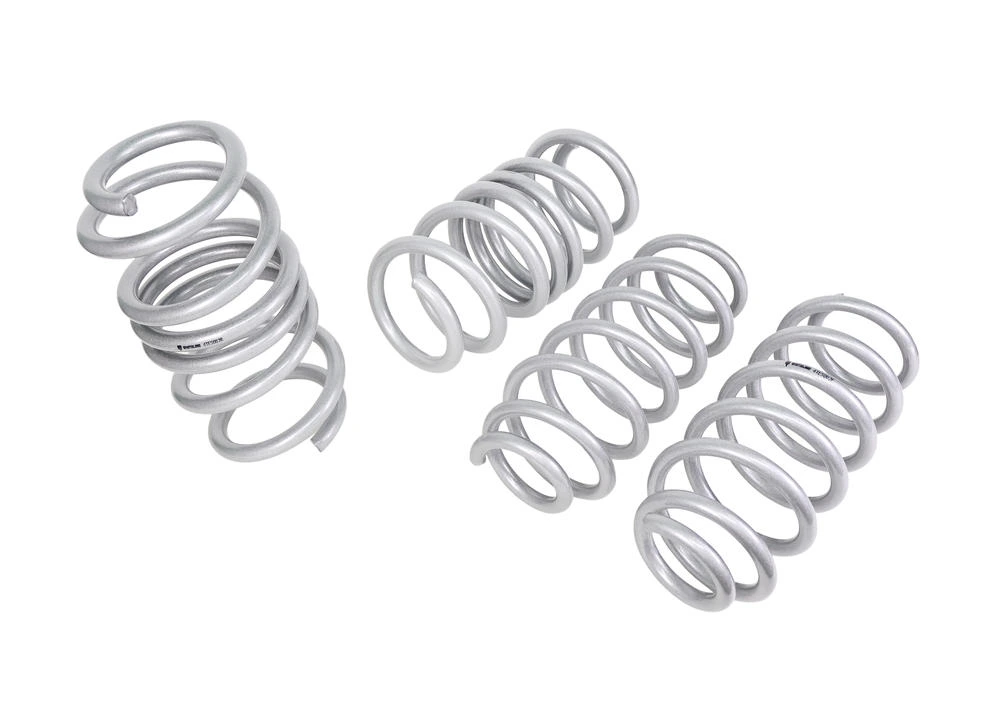
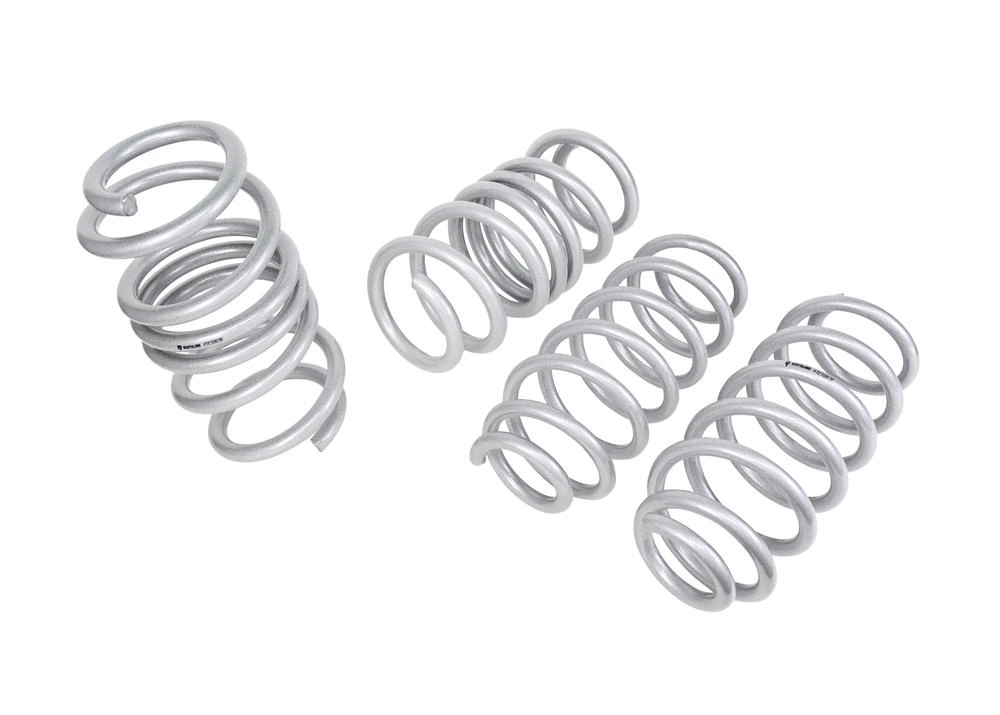
Drop figures compared
|
Kit |
Front drop |
Rear drop |
Front rate |
Rear rate |
|
20mm / 0.787 in |
20mm / 0.787 in |
4.7kg/mm (263lb/in) |
8.0kg/mm (450lb/in) |
|
|
Whiteline WSK-TES002 (Model 3 RWD) |
20mm / 0.787 in |
20mm / 0.787 in |
4.2kg/mm (235lb/in) |
8.2kg/mm (460lb/in) |
|
Whiteline GS1-TES001 Grip Series Stage 1 |
20mm |
20mm |
4.8kg/mm (269lb/in) |
8.0kg/mm (450lb/in) |
Worth noting what is in that table and missing from almost every competitor page: the spring rate in lb/in. Vendors will tell you a spring is softer than factory by some percentage without ever publishing the rate. You cannot predict how a car will ride from a percentage claim, however, you can from spring rate.
Will lowering springs ruin the ride on a Model 3?
A Model 3 is heavy for its size and the rear carries a large share of that weight, which is why the rear rate here is nearly twice the front. Fit a spring set with the rates in the wrong proportion and the car develops the two faults owners complain about most: a rear end that thumps over sharp edges, and a front end that floats and then runs out of travel mid corner. Whiteline rates the front and rear as a pair for the Model 3's actual weight distribution, and the progressive rate design gives a softer initial response over small road inputs before firming up as the spring compresses.
There is a version of this you should be sceptical about. Some sellers claim their lowering springs increase suspension travel and therefore improve comfort. Lowering a car reduces available travel. A well engineered lowering spring manages the reduction sensibly. It does not reverse it.
What genuinely changes: body control improves noticeably, the car feels flatter on turn in, and you lose a small amount of ground clearance. Steep driveways and aggressive speed bumps need more care than they did.
What happens to your dampers?
A lowering spring makes the damper work over a different and shorter part of its stroke, and the more aggressive the drop, the more time the damper spends near the end of its travel. Modest drops on matched rates are the low risk case, which is exactly why Whiteline specifies 20mm rather than 40mm and engineers the springs for balance with the OEM damper. The kit is designed to work with the factory unit, not in spite of it. If your car has already covered high mileage and the dampers are tired, replacing springs will not disguise that, and you will get a better result addressing both.
Do you need a wheel alignment afterwards?
A front wheel alignment is required after fitting the lowering kit, and this is not optional if you care about tire life. Changing ride height changes camber and toe, and a Model 3 left unaligned after a drop will scrub the inner shoulders of its front tires.
Budget for it as part of the job rather than a nice to have. If you want the numbers to hand your technician, and the reason a factory alignment on a Tesla needs ballast in the car to be accurate, read our guide to Model 3 alignment specs after lowering.
Install time and what the job involves
Four hours front and rear for an expert, with a front alignment on top. Spring work involves compressing a loaded spring, and a Model 3 front strut assembly is not a driveway job for someone without the right tools.
The kit contains four springs. No dampers, no top mounts, nothing you do not need if your factory dampers are sound.
Springs alone, or springs and sway bars?
Springs control ride height and vertical body movement. They do comparatively little about roll in a corner, which is what a sway bar is for. Fitting both is where a Model 3 transforms, and it is why the Grip Series performance suspension kits exist: the same 20mm springs plus a 30mm 3 position adjustable front bar and a 20mm 3 position adjustable rear bar, with the drop links to set them up without preload. Seven hours to install, and the car comes out of it a genuinely different thing to drive.
If body roll is your main complaint rather than stance, start there instead: what actually fixes body roll on a Model 3.
Frequently asked questions
Looking for more information about Tesla Model 3 lowering springs? Below we answer the most commonly asked questions
How much do lowering springs drop a Tesla Model 3?
Do lowering springs void a Tesla warranty?
Will lowering my Model 3 improve range?
Can I fit lowering springs to a Model 3 RWD?
Will lowered springs cause my Model 3 to rub?
How long do lowering springs last?
Browse the full range of Whiteline EV suspension upgrades and select your Model 3 to confirm fitment.


