
 AU
 United Kingdom
 Europe
 United States

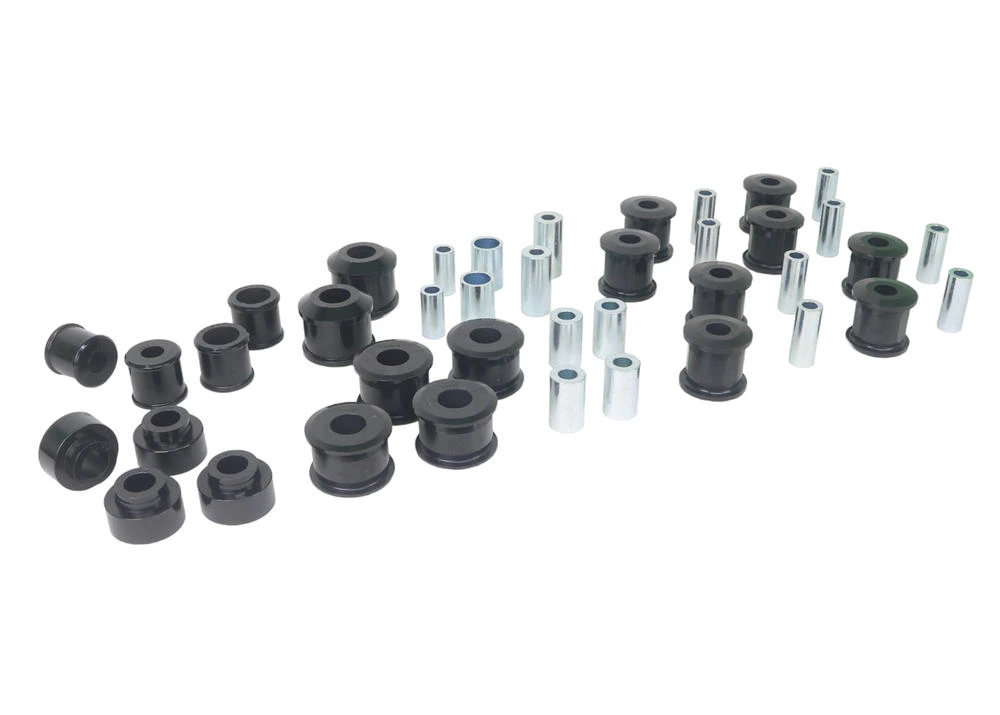

To install polyurethane bushes, remove the arm or component, press or cut out the old rubber, clean the housing back to bare metal, then grease the bush, sleeve and every contact face. Fit the new bush as the instructions show, refit the arm, torque the bolts at ride height and finish with a wheel alignment.
Fitting polyurethane bushes is one of the most rewarding suspension jobs you can do, because the improvement in steering and body roll control is obvious from the first drive. The job rewards careful preparation far more than brute strength. Most installation problems trace back to skipped cleaning, too little grease or bolts tightened with the suspension hanging. Here is the process we recommend for fitting our suspension bushes, whether you are doing the work at home or briefing your workshop.
What tools do you need to fit poly bushes?
Gather everything before you start, because a car on stands with a missing tool is a frustrating place to be. For most positions you will need:
• Lifting and support: A trolley jack and rated axle stands, plus wheel chocks.
• Hand tools: Sockets, spanners, breaker bar and a torque wrench.
• Bush removal tools: A hydraulic press or bush removal kit, and a hacksaw for stubborn outer shells.
• Cleaning supplies: A wire brush, emery paper, degreaser and plenty of rags.
• Lubrication: The polyurethane safe grease supplied with your Whiteline kit.
Sway bar mount bushes are the easiest starting point and need little beyond hand tools. Control arm, trailing arm and subframe bushes usually need the arm removed and a press, so many owners leave those to a workshop. Our guide to the cost to replace suspension bushes helps if you are weighing that up.
Step 1: How do you prepare the car safely?
Park on level, solid ground, chock the wheels that stay on the ground and loosen the wheel nuts before lifting. Raise the car at the manufacturer’s jacking points and support it on axle stands rated for its weight. Never work under a car held up only by a jack.
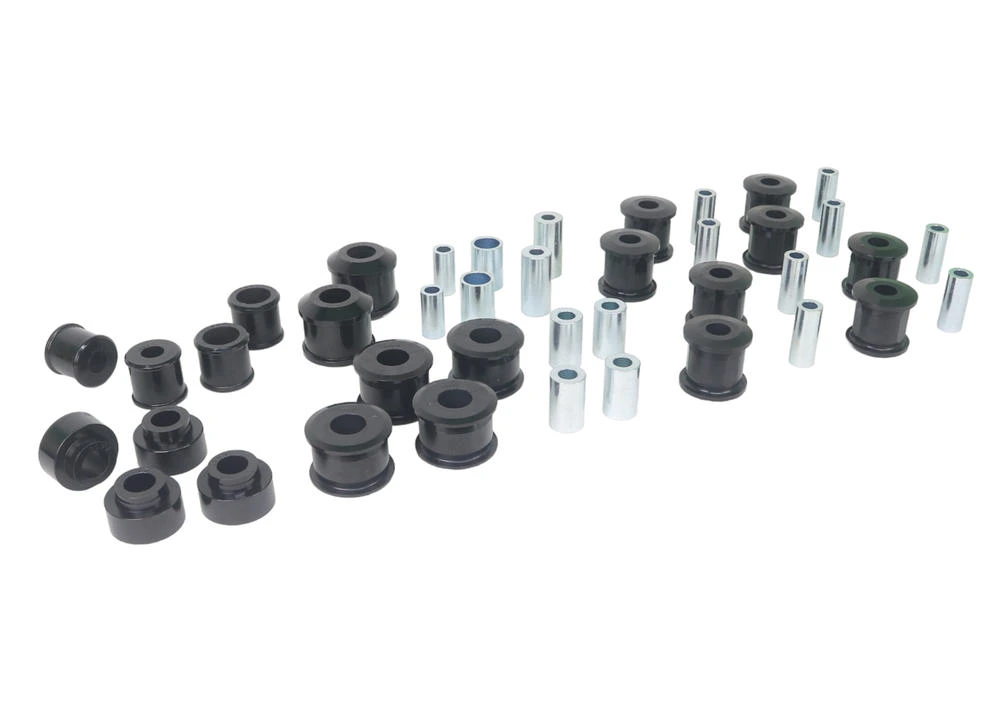
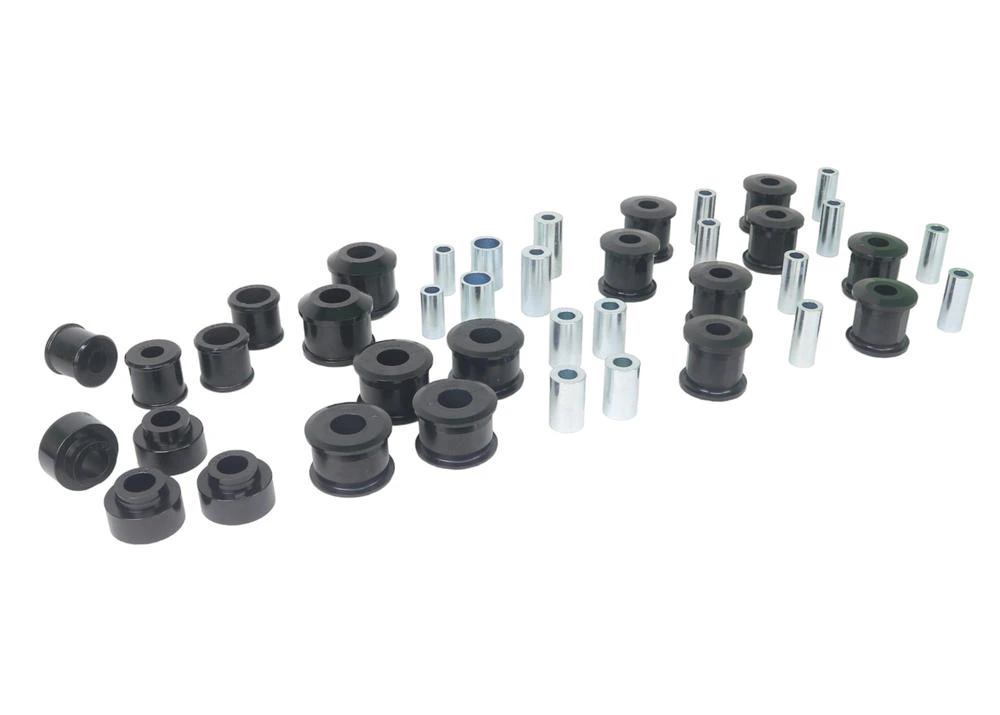
Read the instructions supplied with your kit before you remove anything. They show the orientation of each bush, which parts of the old bush are reused, and any position specific steps.
Step 2: How do you remove the old rubber bush?
Unbolt and remove the arm or component that holds the bush, taking photos as you go so reassembly is straightforward. Many factory rubber bushes are pressed into the arm with a steel outer shell, so a hydraulic press or a bush removal tool is the cleanest way to push them out.
If a bush will not move, carefully cut through the rubber to release the inner sleeve, then use a hacksaw to cut the outer shell lengthways without cutting into the arm. Avoid the old trick of burning rubber out with a flame, because it releases toxic fumes, it is a fire risk around fuel and brake lines, and heat can weaken the arm.
Step 3: Why is cleaning the housing so important?
Polyurethane bushes rely on clean, smooth contact surfaces to rotate freely. Any rust, scale or rubber residue left in the housing acts like grit inside the bush, causing noise and wear.
Clean the housing back to bare metal with a wire brush and emery paper, then wipe it down with degreaser. Inspect the arm for cracks, corrosion or an out of round eye while it is clean, since a damaged housing will not hold any bush properly.
Step 4: How do you grease and fit the new bushes?
Apply the supplied grease generously to the inner bore of the bush, the outside of the inner sleeve and every face that will touch the housing, washers or brackets. Our knurled bores are designed to hold grease, so fill the grooves rather than wiping on a thin film.
Many of our bushes press or push into the housing by hand or with light pressure, and split designs fit from each side of the eye. Insert the sleeve, check the orientation against the instructions and make sure any flanges sit flush. For more detail on lubricant choice, see our guide to the best grease for polyurethane bushings.
Step 5: Why should you torque bolts at ride height?
Refit the arm and snug the bolts, but do not fully tighten pivot bolts while the suspension is hanging at full droop. Lower the car onto its wheels, or raise the suspension with a jack to its normal ride height, then torque each bolt to the manufacturer’s specification.
Tightening at ride height means the bush sits in its neutral position when the car is at rest, so it is not working against a preload every time you drive. Wipe away excess grease once everything is tight so it does not collect road dirt.
Step 6: What should you do after fitting?
Book a wheel alignment after replacing any control arm, trailing arm or subframe bushes, because the new bushes locate the arms more precisely than the worn ones did. It is also the perfect time to add caster or camber correction, which we explain in caster and camber adjustment bushes.
Take the car for a test drive over speed humps, tight turns and a few firm stops, listening for any noise and feeling for changes in steering. It is good practice to recheck bolt torque after the first few hundred kilometres. If any noise does appear, our guide to why poly bushes squeak will help you track it down.
Common installation mistakes to avoid
|
Mistake |
What happens |
How to avoid it |
|
Skipping the clean |
Grit wears the bush and causes noise |
Clean the housing to bare metal |
|
Too little grease |
Dry surfaces bind and wear |
Grease every rotating and contact face |
|
Wrong grease |
Petroleum products can degrade poly |
Use the supplied, poly safe grease |
|
Torquing at full droop |
Bush is preloaded at rest |
Tighten at ride height |
|
Wrong orientation |
Poor fit and uneven load |
Follow the kit instructions |
|
Burning out old rubber |
Fumes, fire risk and weakened arms |
Press or cut out instead |
|
No alignment afterwards |
Tyre wear and poor handling |
Book an alignment after arm bushes |
FAQs
Looking for more information about installing polyurethane bushes? Below we answer the most commonly asked questions
How do you install polyurethane bushes?
Do you need a press to fit poly bushes?
Should I burn out old rubber bushes?
Do poly bushes need to be tightened at ride height?
Do I need an alignment after fitting new bushes?
How long does it take to fit poly bushes?
Can I reuse the old inner sleeves?
Ready to fit a new set of poly bushes? Find the right kit for your car in our suspension bushes range, with grease included.


